
From Blog Post to Lead Magnet: Turning AI-Generated Articles into Checklists, Guides, and Email Sequences


From Blog Post to Lead Magnet: Turning AI-Generated Articles into Checklists, Guides, and Email Sequences
You don’t have a blogging problem. You have an asset usage problem.
If you’re using AI (or a platform like Blogg) to keep fresh posts going live, you’re already doing the hard part: publishing consistently. But most of those posts are doing one job and then retiring quietly to your archive.
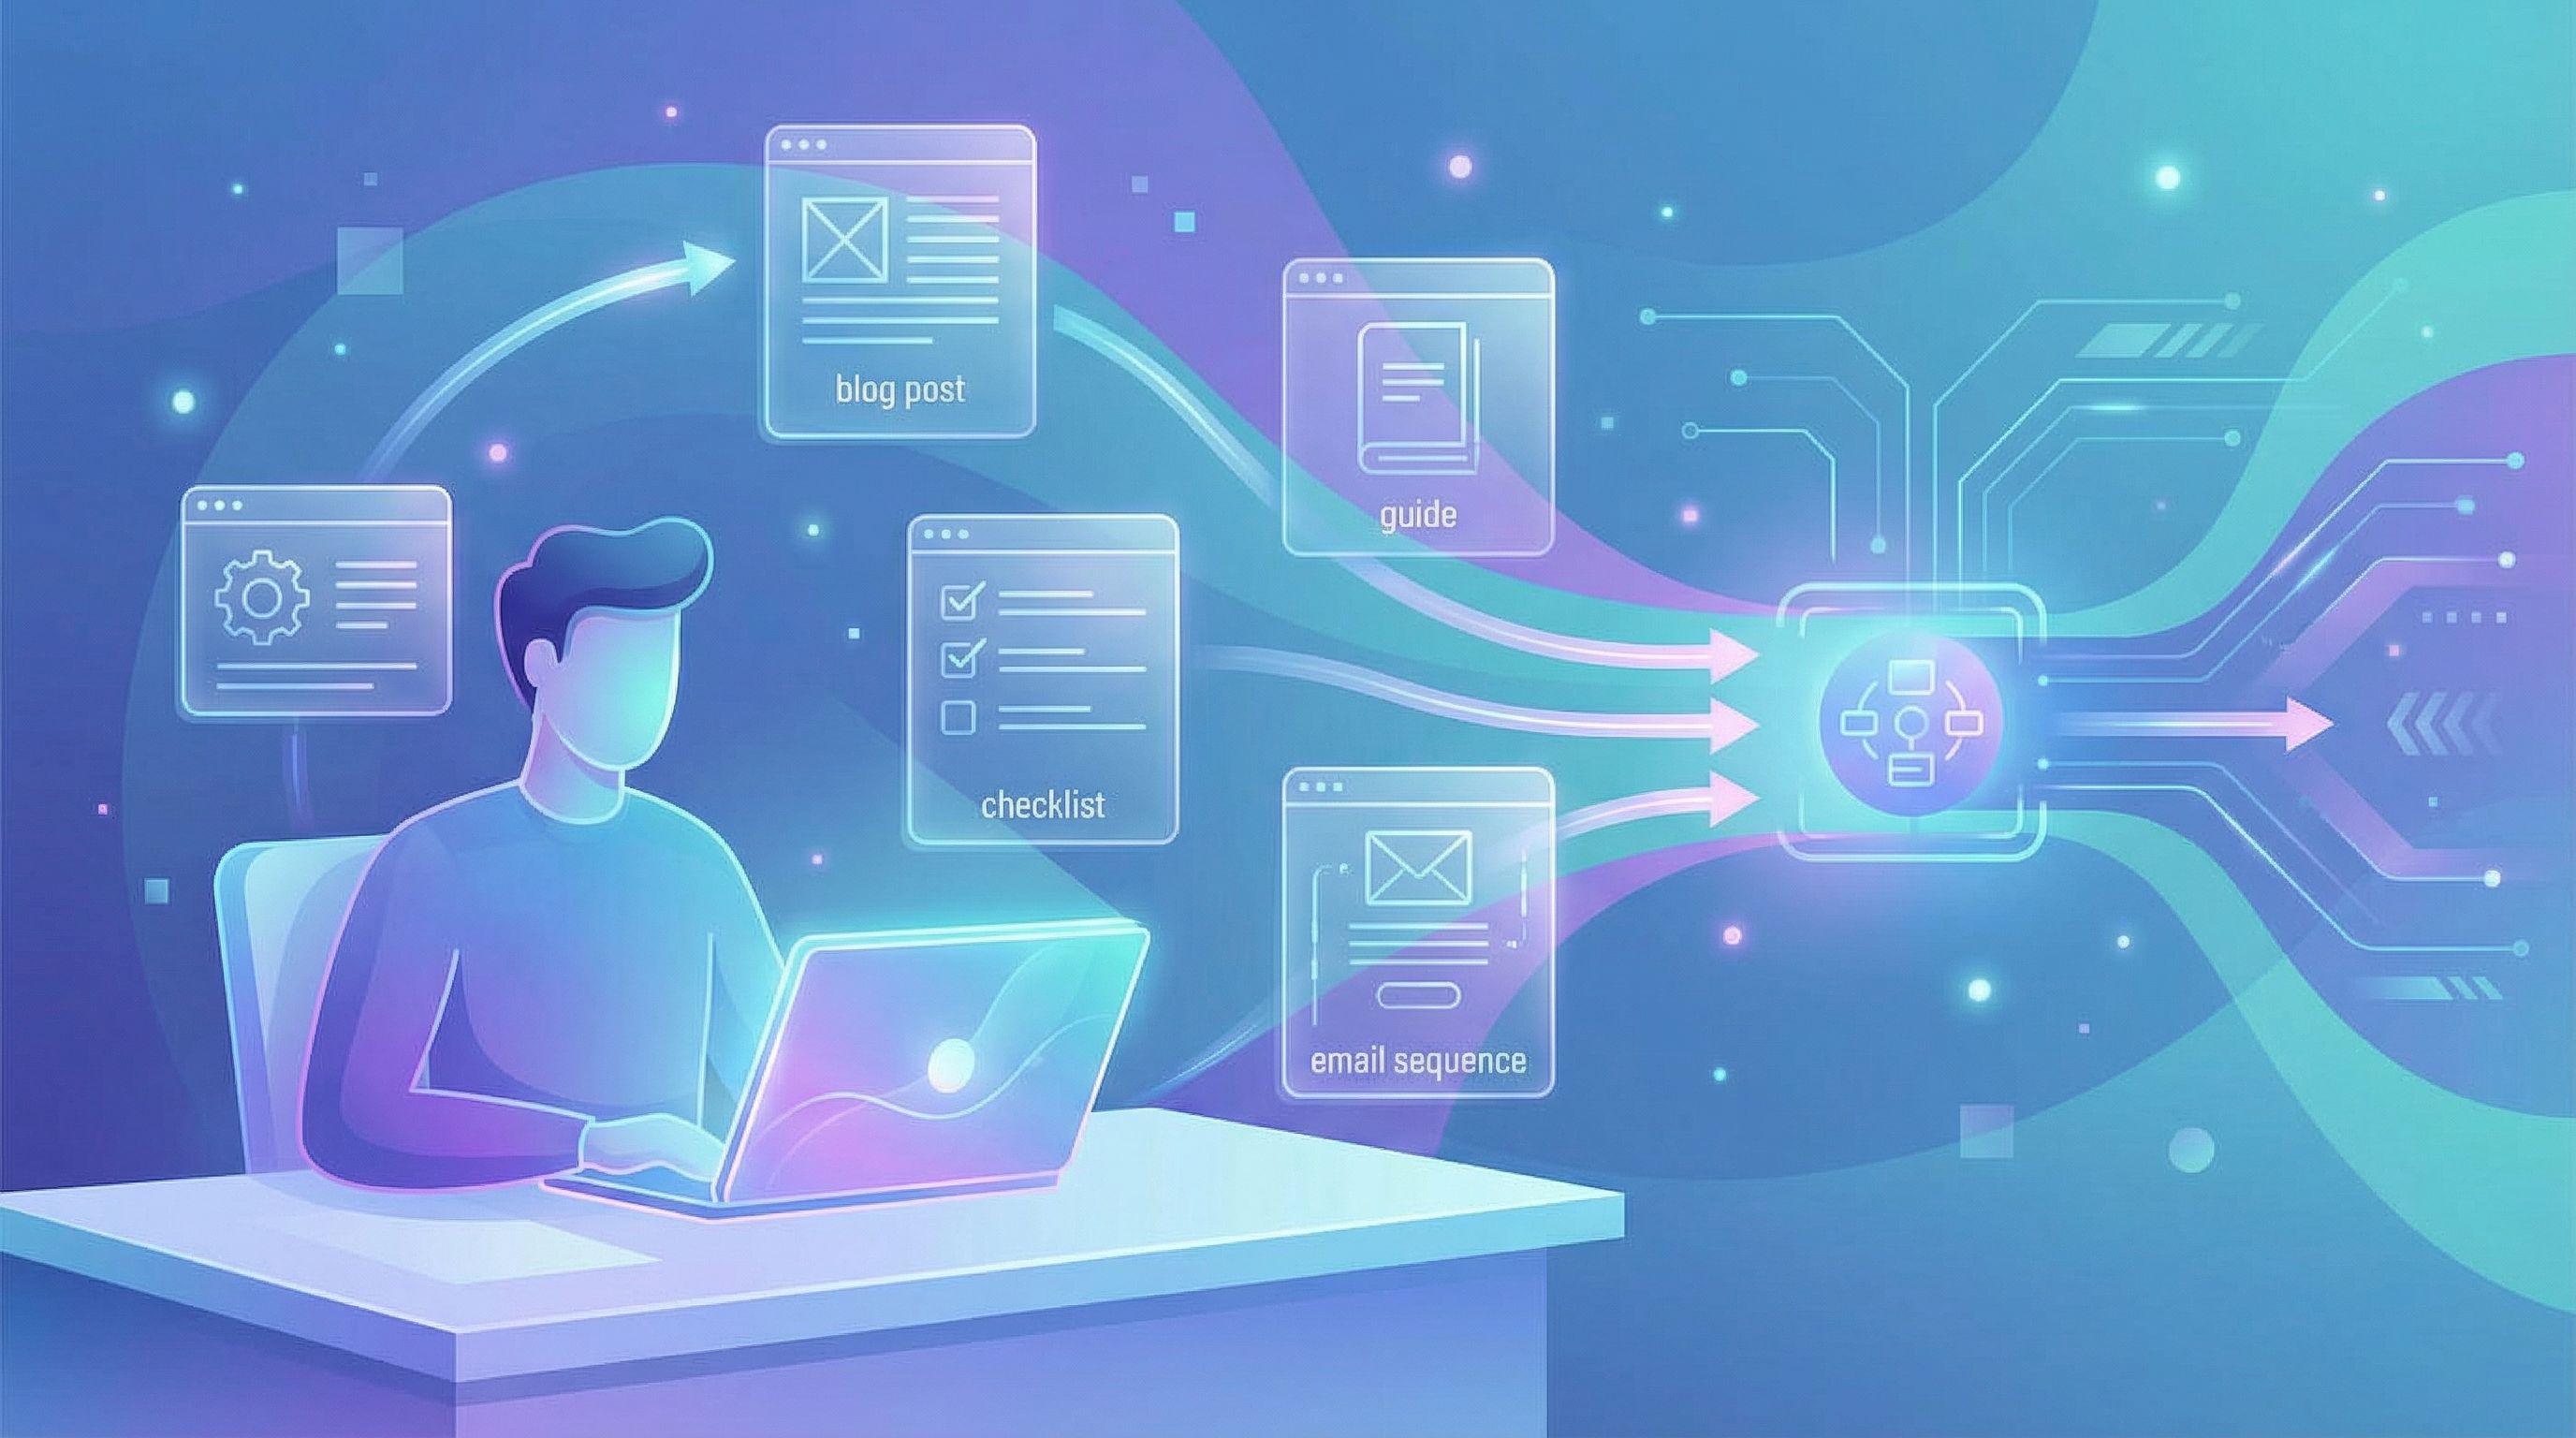
Each of those articles could be:
- A checklist your sales team sends to prospects
- A PDF guide you gate behind an email form
- A 5-part onboarding or nurture sequence
- A one-page worksheet your customer success team loves
That’s what this article is about: turning AI-generated blog posts into lead magnets that actually collect emails and move people toward buying—without creating more work than you can handle.
Why turning posts into lead magnets matters
Blog traffic without a next step is just… readership.
When you turn posts into checklists, guides, and email sequences, you:
- Capture intent while it’s warm. Someone who just read 1,500 words on a problem is primed to say yes to a deeper resource.
- Create tangible value. A focused checklist or short guide feels more useful than a scrollable article.
- Build an owned audience. Email subscribers are an asset you control—unlike rankings and algorithms.
- Shorten the path to revenue. Lead magnets let you ask for a small commitment (email) that naturally leads to bigger commitments (demo, trial, purchase).
If you’ve already set up a lean publishing system or a Minimum Viable Blog, this is the next layer: turning consistent content into consistent leads.
Step 1: Choose the right posts to repurpose
Not every post should become a lead magnet. Start with the ones that are already pulling their weight.
Look for posts that:
-
Get meaningful traffic
- Use Google Analytics or your analytics tool of choice to find posts with steady sessions over the last 3–6 months.
- Prioritize posts that already rank for problem-focused or how‑to keywords ("how to…", "checklist", "framework", "template").
-
Solve a concrete problem
- Posts that walk through a process (e.g., “How to audit your SaaS onboarding emails”) are perfect for checklists and guides.
- Posts that explain a concept but hint at deeper execution are great candidates for email sequences.
-
Align with a real offer
- If there’s no clear way to connect the topic to your product or service, it’s a weaker lead magnet candidate.
- Map each post to a core offer or funnel stage. If you’re not doing this yet, check out how to connect content to revenue in From Clicks to Customers.
-
Already hint at “extras”
- Posts that mention steps, frameworks, or tools naturally lend themselves to “Download the checklist” or “Get the template” offers.
Quick selection workflow (30 minutes):
- Pull your top 20 posts by traffic.
- Cross out any that are purely company news or thought pieces without a clear problem.
- Highlight 3–5 that:
- Solve a specific problem, and
- Tie directly to a product or service.
Those 3–5 are your first repurposing targets.
Step 2: Turn a post into a high-value checklist
Checklists are the lowest-friction lead magnet you can create from a blog post—and often the highest converting. They’re fast to make, fast to consume, and easy to use.
How to extract a checklist from an AI-generated post
Open your post and look for:
- Numbered steps – each can become a checklist section
- Subheadings – often represent phases or categories
- Embedded tips or “watch out for” notes – these become checklist items or bonus sections
Then, structure the checklist like this:
-
Title and promise
- Make it outcome-focused: “Website Launch QA Checklist” beats “Website Checklist.”
-
3–7 sections
- Group items logically: e.g., Strategy, Setup, Content, QA, Launch.
-
Checkbox items under each section
- Each item should be:
- Actionable (“Verify tracking is firing on key conversion events”), not vague (“Analytics”).
- Short enough to scan.
- Each item should be:
-
A mini “how to use this” intro
- 2–3 sentences explaining who it’s for and how to apply it.
Where AI helps
You can:
- Paste the blog post into your AI tool and prompt: “Turn this post into a 1-page, actionable checklist with grouped sections and short checkbox items.”
- If you’re using Blogg, you can generate the original post there, then feed the published content back into your AI workflow to spin out the checklist copy.
Packaging the checklist
- Format: Simple Google Doc, PDF, or Notion page exported as PDF.
- Branding: Add your logo, colors, and a footer that includes:
- A short product pitch
- A link to your main offer or demo page
- Length: 1–3 pages max. If it’s longer, you’re drifting into “guide” territory (which is fine—just be intentional).
Adding it to the post
Place your opt-in offer:
- Near the top: A short callout box: “Want this as a 2-page checklist you can share with your team? Get the free PDF.”
- Mid-article: After the section where you explain the process.
- End of article: As the primary CTA.
Use clear, benefit-driven copy:
- “Download the 12-point launch checklist (PDF)”
- “Get the 5-step audit checklist as a printable PDF”
Step 3: Expand a post into a short guide
Guides work best when your post already outlines a multi-step process, but your readers would benefit from:
- More examples
- Templates or swipe copy
- Worksheets or planning pages
Think of the guide as the “workbook” version of your article.
Decide the scope
Aim for 5–15 pages. Enough depth to feel substantial, not so long it becomes a book no one finishes.
Good guide angles include:
- “The Complete [Topic] Playbook”
- “A 7-Day Plan to [Outcome]”
- “[Role]-Friendly Guide to [Topic] Without [Pain]”
Turn your post into a guide outline
Take the existing structure and:
- Promote each major section to a chapter.
- Add a “before you start” chapter.
- Who this is for
- What you’ll achieve
- What you need in place
- Add worksheets or prompts.
- After each chapter, include 3–5 questions or a simple table.
- Add a “next steps” chapter.
- How your product/service fits in
- Links to related resources
AI can help you:
- Generate reflection questions based on each section.
- Turn explanations into simple templates or frameworks.
- Draft a concise intro and conclusion.
This is where an automated platform like Blogg shines: it handles the ongoing post generation, so you have time to selectively turn your best-performing pieces into deeper assets.
Design and delivery
You don’t need a designer for v1:
- Use a simple slide template (Google Slides, Keynote, or Canva) and export as PDF.
- Keep fonts and colors on-brand but minimal.
- Add:
- A cover page with a clear title and benefit
- Page numbers
- A recurring footer CTA (e.g., “Ready to implement this with less manual work? Book a demo.”)
Then:
- Gate the PDF behind a simple form.
- Embed the form directly in the blog post.
- Send the guide automatically via email (more on that in the next section).
If you want a deeper framework for structuring posts themselves so they naturally become guides later, see Lead-Ready Content on Autopilot.

Step 4: Turn a single post into an email sequence
Email sequences are where your repurposed content really starts to drive pipeline. A good sequence can:
- Nurture new subscribers
- Onboard trial users
- Re-engage old leads
Choose the right “anchor post”
Look for posts that:
- Tackle a high-intent topic closely related to your core offer.
- Include multiple sections that could stand alone as lessons.
- Naturally lead to a “next step” (demo, trial, strategy call, or starter plan).
Map the post to a 3–7 email sequence
A simple structure:
-
Email 1 – Big problem + quick win
- Reframe the problem and give them one immediate, actionable tip from the post.
- CTA: reply with their situation or click to read the full article.
-
Email 2 – Core framework or checklist
- Share the main framework from the post in a condensed format.
- CTA: download the checklist or guide you created.
-
Email 3 – Case study or example
- Turn an example from the post into a mini case study.
- CTA: learn how your product supports this outcome.
-
Email 4 – Objections and pitfalls
- Use the “common mistakes” section of your post.
- CTA: invite them to a call, trial, or webinar.
-
Email 5 – Direct invitation
- Summarize what they’ve learned.
- Make a clear, specific offer (e.g., “15-minute audit,” “14-day trial,” “Done-for-you setup”).
You can easily expand this to 7+ emails by:
- Splitting long sections into separate lessons
- Adding a “toolbox” email with recommended resources
- Adding a “FAQ” email based on real customer questions
Using AI to draft the sequence
Give your AI tool:
- The original blog post
- A description of your audience
- The desired conversion action (e.g., “book a demo,” “start a trial”)
Then prompt:
“Turn this blog post into a 5-email nurture sequence for [audience]. Each email should be 300–500 words, conversational, and end with a clear CTA to [action]. Use the content of the post as the core teaching material.”
From there, use a quality checklist (something like the framework in The AI Content Quality Scorecard) to:
- Tighten the copy
- Align the tone with your brand
- Check for accuracy and relevance
Implementation tips
- Tag subscribers based on which lead magnet they downloaded so you can send relevant offers later.
- Time your emails over 7–14 days—enough space to breathe, not so slow they forget you.
- Test one variable at a time: subject lines first, then CTAs, then email order.
Step 5: Wire it into a simple funnel
Repurposed assets only work if they’re actually connected to a path:
- Blog post → Lead magnet opt-in
- Opt-in → Thank-you page + delivery email
- Delivery email → Nurture sequence
- Nurture sequence → Sales action (demo, trial, call, purchase)
Here’s a lightweight setup you can implement with almost any email platform:
-
Create a form
- Ask for first name and email only.
- Optional: role or company size if it helps qualify leads.
-
Embed the form in the blog post
- Above the fold and near the mid-article scroll point.
-
Set up an automation
- Trigger: form submission
- Actions:
- Tag: “Checklist – [Topic]” or “Guide – [Topic]”
- Send: delivery email with the asset
- Start: nurture sequence
-
Add a clear sales CTA in the sequence
- Make it specific: “Book a 20-minute [Topic] Audit” beats “Talk to sales.”
Once this is in place for one post, you can duplicate the pattern for others.
If you’re already using Blogg to automate ideation, writing, and scheduling, this funnel layer is where your compounding traffic starts turning into compounding leads.
Step 6: Measure what’s working and iterate
You don’t need a complex attribution model to improve your lead magnets, but you do need a few basic numbers.
Track for each repurposed asset:
-
Opt-in rate
- Form submissions ÷ unique page views.
- If it’s under ~1–2%, test:
- Stronger offer language
- More specific promise
- Moving the form higher on the page
-
Open and click rates for the sequence
- Low opens? Test subject lines and sender name.
- Low clicks? Tighten copy and clarify the CTA.
-
Downstream actions
- How many demo requests, trials, or purchases are influenced by subscribers who came in via each lead magnet?
For a deeper dive into connecting AI content to revenue, you can layer in the ideas from The Attribution Problem.
Over time, you’ll see patterns:
- Certain topics consistently drive higher opt-ins.
- Certain offers (checklist vs guide vs sequence) perform better by audience segment.
- Certain CTAs create more sales conversations.
Double down on what works; retire or rework what doesn’t.
Putting it all together
Let’s recap the workflow:
- Identify high-potential posts that already get traffic, solve a concrete problem, and align with your offers.
- Turn them into checklists for quick wins and high opt-in rates.
- Expand the strongest ones into short guides for deeper engagement and perceived value.
- Convert the core teaching into email sequences that nurture subscribers toward a clear next step.
- Wire everything into a simple funnel that moves people from search → read → subscribe → nurture → sales.
- Measure and refine based on opt-in rates, engagement, and revenue impact.
When your blog is powered by AI—and especially when you’re using an automated system like Blogg to keep posts flowing—this approach turns “more content” into “more leads” without multiplying your workload.
Your next move
Don’t try to retrofit your entire archive at once. Pick one post and run the full experiment.
Here’s a concrete 7-day plan:
- Day 1: Choose a high-traffic, high-intent post.
- Day 2: Extract and package a 1–2 page checklist.
- Day 3: Add an opt-in form and CTA to the post.
- Day 4–5: Turn the post into a 3–5 email sequence with AI’s help; edit using a quality checklist.
- Day 6: Wire up the automation in your email tool.
- Day 7: Ship it, then set a reminder to review performance in 30 days.
If you’re still struggling to publish consistently enough to have posts worth repurposing, start there: set up a lean system for regular content, whether that’s your own AI workflow or an automated platform like Blogg.
Then come back to this playbook and start turning those posts into the lead magnets your sales team wishes you’d had all along.


